> ## Documentation Index
> Fetch the complete documentation index at: https://docs.deflect.in/llms.txt
> Use this file to discover all available pages before exploring further.
# WhatsApp Integration
> Connect WhatsApp Business numbers and let customers message your AI agents
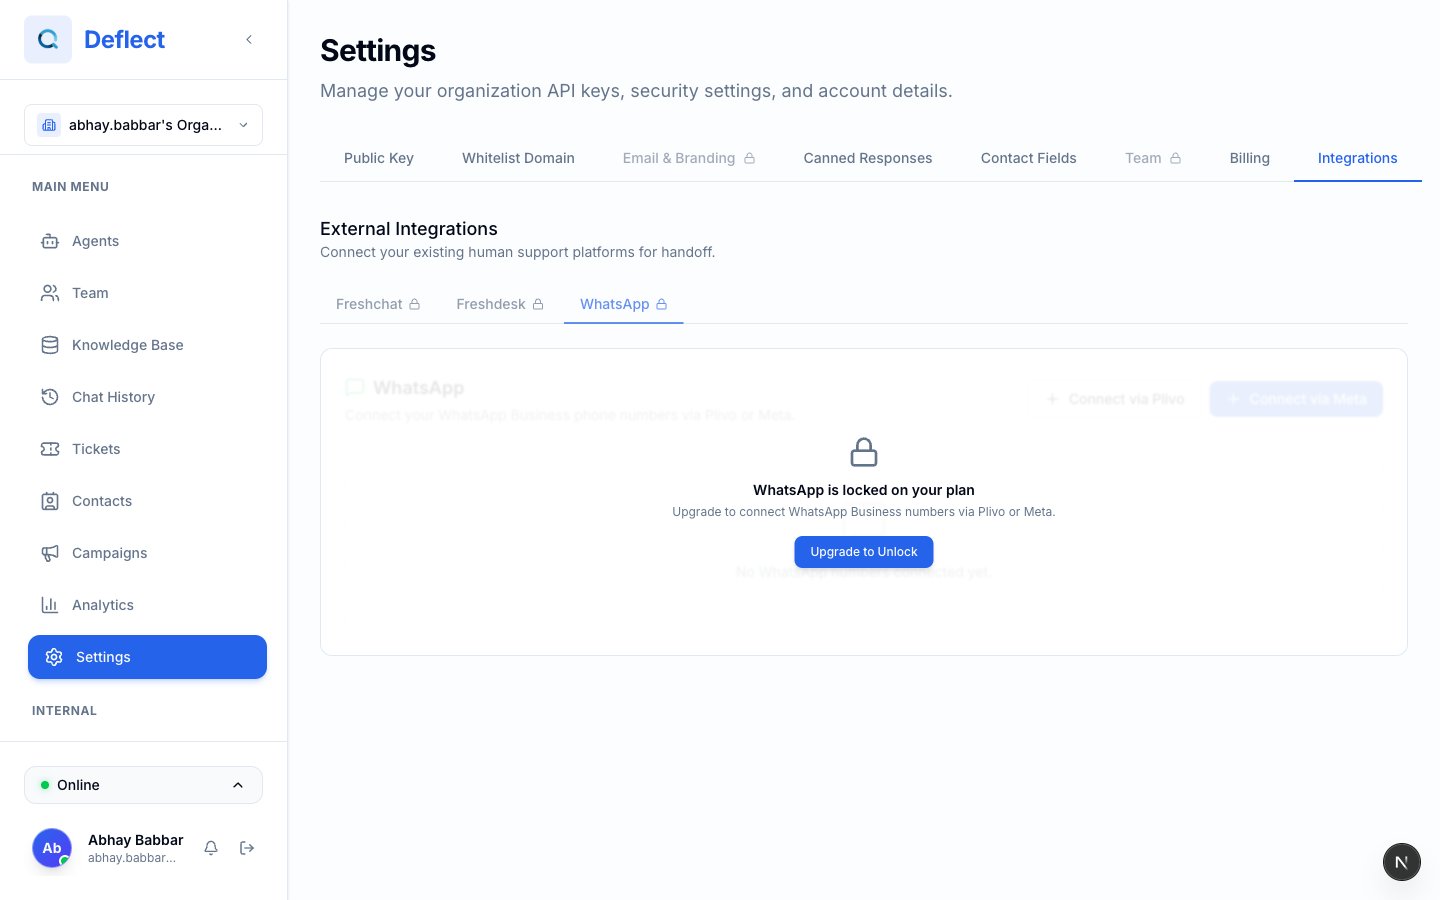
Let customers reach your Deflect agents on **WhatsApp** — the same knowledge, handoff, and ticketing you use on web chat, on the channel they already use every day.
WhatsApp is available on **Starter** plans and above. Connecting or disconnecting numbers requires an **Admin**. **Admins** and **Developers** can sync templates, update tokens, and send test messages.
## Overview
Link your WhatsApp Business phone number in **Settings → Integrations**.
Create an agent with channel **WhatsApp** and link it to your number.
Send a test message to confirm everything works.
Share your WhatsApp number with customers.
 ## Choose your connection method
Deflect supports two ways to connect WhatsApp. Pick the one that matches how your business already manages WhatsApp:
| Method | Best if you… |
| -------------------- | -------------------------------------------------------- |
| **Meta (Cloud API)** | Already use Meta Business Manager and WhatsApp Cloud API |
| **Plivo** | Use Plivo as your WhatsApp Business provider |
Both methods deliver the same customer experience in Deflect. The setup steps differ only in where you paste credentials.
***
## Option A — Connect via Meta
### What you need from Meta
Before starting, gather these from your [Meta Business Manager](https://business.facebook.com/) WhatsApp setup:
| Deflect field | Where to find it in Meta |
| ---------------------------- | ---------------------------------------------------- |
| **Display name** | A friendly label for your team (e.g. "Acme Support") |
| **Phone number (E.164)** | Full international number, e.g. `+15550123456` |
| **Phone Number ID** | WhatsApp → API Setup → Phone number ID |
| **WABA ID** | WhatsApp Business Account ID |
| **System user access token** | Token with access to your WhatsApp Business Account |
You also need permission to edit **webhook** settings in your Meta app.
### Connect the number
Go to **Settings → Integrations** → **WhatsApp Business**.
Click **Connect Number** and enter your Meta credentials.
Deflect registers the number and shows connection status, template count, and webhook details.
### Set up the Meta webhook
After connecting, each number card shows a **Webhook URL** and **Verify token**. Copy both into your Meta app's WhatsApp configuration.
Subscribe to the **`messages`** webhook field — this is required for Deflect to receive customer messages and delivery updates.
After you connect a number, the number card in **Settings → Integrations** shows **Webhook URL** and **Verify token** copy buttons. Paste those into your Meta app's WhatsApp webhook configuration.
Each WhatsApp phone number can only be connected to **one** Deflect organization. If the number is already registered elsewhere, connection will fail.
***
## Option B — Connect via Plivo
### What you need from Plivo
| Deflect field | Where to find it |
| ------------------------ | ---------------------------------- |
| **Phone number (E.164)** | Your Plivo WhatsApp-enabled number |
| **Display name** | Label for your team |
| **Plivo Auth ID** | Plivo console → Account → Auth ID |
| **Plivo Auth Token** | Plivo console → Auth Tokens |
### Connect the number
Go to **Settings → Integrations** and select the **Plivo** tab (or **Connect via Plivo**).
Fill in phone number, display name, Auth ID, and Auth Token.
After saving, copy the **message URL** shown on the number card into your Plivo WhatsApp application settings.
## Choose your connection method
Deflect supports two ways to connect WhatsApp. Pick the one that matches how your business already manages WhatsApp:
| Method | Best if you… |
| -------------------- | -------------------------------------------------------- |
| **Meta (Cloud API)** | Already use Meta Business Manager and WhatsApp Cloud API |
| **Plivo** | Use Plivo as your WhatsApp Business provider |
Both methods deliver the same customer experience in Deflect. The setup steps differ only in where you paste credentials.
***
## Option A — Connect via Meta
### What you need from Meta
Before starting, gather these from your [Meta Business Manager](https://business.facebook.com/) WhatsApp setup:
| Deflect field | Where to find it in Meta |
| ---------------------------- | ---------------------------------------------------- |
| **Display name** | A friendly label for your team (e.g. "Acme Support") |
| **Phone number (E.164)** | Full international number, e.g. `+15550123456` |
| **Phone Number ID** | WhatsApp → API Setup → Phone number ID |
| **WABA ID** | WhatsApp Business Account ID |
| **System user access token** | Token with access to your WhatsApp Business Account |
You also need permission to edit **webhook** settings in your Meta app.
### Connect the number
Go to **Settings → Integrations** → **WhatsApp Business**.
Click **Connect Number** and enter your Meta credentials.
Deflect registers the number and shows connection status, template count, and webhook details.
### Set up the Meta webhook
After connecting, each number card shows a **Webhook URL** and **Verify token**. Copy both into your Meta app's WhatsApp configuration.
Subscribe to the **`messages`** webhook field — this is required for Deflect to receive customer messages and delivery updates.
After you connect a number, the number card in **Settings → Integrations** shows **Webhook URL** and **Verify token** copy buttons. Paste those into your Meta app's WhatsApp webhook configuration.
Each WhatsApp phone number can only be connected to **one** Deflect organization. If the number is already registered elsewhere, connection will fail.
***
## Option B — Connect via Plivo
### What you need from Plivo
| Deflect field | Where to find it |
| ------------------------ | ---------------------------------- |
| **Phone number (E.164)** | Your Plivo WhatsApp-enabled number |
| **Display name** | Label for your team |
| **Plivo Auth ID** | Plivo console → Account → Auth ID |
| **Plivo Auth Token** | Plivo console → Auth Tokens |
### Connect the number
Go to **Settings → Integrations** and select the **Plivo** tab (or **Connect via Plivo**).
Fill in phone number, display name, Auth ID, and Auth Token.
After saving, copy the **message URL** shown on the number card into your Plivo WhatsApp application settings.
 ***
## Link numbers to an agent
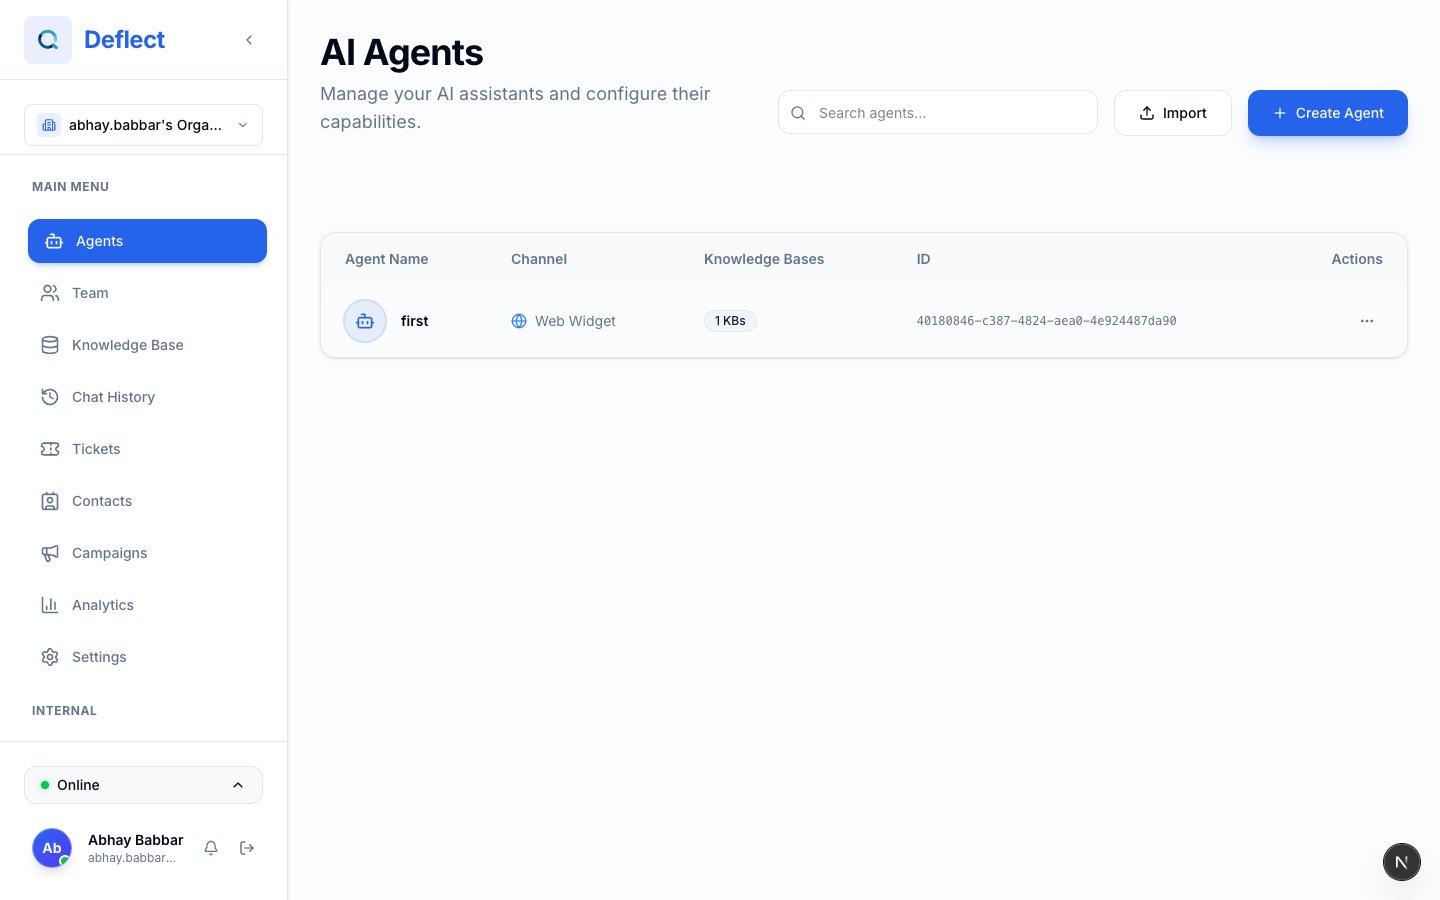
**Agents → Create agent** with channel **WhatsApp**, or open an existing one.
In the agent editor, find **WhatsApp Settings**.
Choose one or more connected phone numbers for this agent.
Set dormancy timeout, auto-close rules, reopen threshold, and **response style** (see below).
Save the agent. Inbound messages on linked numbers route to this agent.
Each WhatsApp number can be linked to **only one** WhatsApp agent at a time. Assigning a number to a new agent moves it away from the previous one.
### Response style
| Style | Customer experience |
| ----------------------------------- | --------------------------------------------------------------------------- |
| **Single message** | One WhatsApp bubble per AI reply |
| **Multiple messages (1–4 bubbles)** | Long replies split into short bubbles, like a natural WhatsApp conversation |
Use multiple messages when answers include lists, pricing tiers, or step-by-step instructions — it reads more naturally on mobile.
***
## Link numbers to an agent
**Agents → Create agent** with channel **WhatsApp**, or open an existing one.
In the agent editor, find **WhatsApp Settings**.
Choose one or more connected phone numbers for this agent.
Set dormancy timeout, auto-close rules, reopen threshold, and **response style** (see below).
Save the agent. Inbound messages on linked numbers route to this agent.
Each WhatsApp number can be linked to **only one** WhatsApp agent at a time. Assigning a number to a new agent moves it away from the previous one.
### Response style
| Style | Customer experience |
| ----------------------------------- | --------------------------------------------------------------------------- |
| **Single message** | One WhatsApp bubble per AI reply |
| **Multiple messages (1–4 bubbles)** | Long replies split into short bubbles, like a natural WhatsApp conversation |
Use multiple messages when answers include lists, pricing tiers, or step-by-step instructions — it reads more naturally on mobile.
 ## Message templates
Outside WhatsApp's **24-hour customer service window**, you must use **pre-approved templates** to start or re-open a conversation.
Design and submit templates in Meta Business Manager (or your Plivo template workflow).
**Settings → Integrations** → find your number → **Sync Templates**.
Synced templates appear when sending test messages or WhatsApp campaigns outside the service window.
Template messages may incur WhatsApp charges depending on category and recipient country.
## Send a test message
Before announcing your WhatsApp line:
1. **Settings → Integrations** → your number → **Test**.
2. Enter a recipient phone in international format (`+countrycode…`).
3. Send. If the service window is closed, pick an approved template and fill any variables.
## Contacts and conversation history
Incoming WhatsApp chats link to **Contacts** when Deflect recognizes the phone number. The contact profile shows WhatsApp history alongside web chat, email, and tickets. See [Contacts](/contacts).
## Troubleshooting
| Problem | What to try |
| ------------------------ | -------------------------------------------------------------------------------------------------------- |
| Cannot connect a number | Confirm your plan includes WhatsApp, you are an Admin, and the number is not already connected elsewhere |
| Messages not arriving | Re-check webhook URL and verify token (Meta) or message URL (Plivo) match what Deflect shows |
| Templates missing | Click **Sync Templates** after Meta approves them, then refresh |
| Test asks for a template | The 24-hour window is closed — select an approved template |
| Wrong agent answers | Verify the number is linked to the intended WhatsApp agent |
## Related guides
* [Create chat agent](/create-chat-agent) — channel types and WhatsApp agent setup.
* [Integrations](/integrations) — Freshdesk, FreshChat, and other connectors.
* [Live chat](/live-chat) — when WhatsApp conversations hand off to humans.
* [Agent file attachments](/agent-file-attachments) — send files to WhatsApp customers.
## Message templates
Outside WhatsApp's **24-hour customer service window**, you must use **pre-approved templates** to start or re-open a conversation.
Design and submit templates in Meta Business Manager (or your Plivo template workflow).
**Settings → Integrations** → find your number → **Sync Templates**.
Synced templates appear when sending test messages or WhatsApp campaigns outside the service window.
Template messages may incur WhatsApp charges depending on category and recipient country.
## Send a test message
Before announcing your WhatsApp line:
1. **Settings → Integrations** → your number → **Test**.
2. Enter a recipient phone in international format (`+countrycode…`).
3. Send. If the service window is closed, pick an approved template and fill any variables.
## Contacts and conversation history
Incoming WhatsApp chats link to **Contacts** when Deflect recognizes the phone number. The contact profile shows WhatsApp history alongside web chat, email, and tickets. See [Contacts](/contacts).
## Troubleshooting
| Problem | What to try |
| ------------------------ | -------------------------------------------------------------------------------------------------------- |
| Cannot connect a number | Confirm your plan includes WhatsApp, you are an Admin, and the number is not already connected elsewhere |
| Messages not arriving | Re-check webhook URL and verify token (Meta) or message URL (Plivo) match what Deflect shows |
| Templates missing | Click **Sync Templates** after Meta approves them, then refresh |
| Test asks for a template | The 24-hour window is closed — select an approved template |
| Wrong agent answers | Verify the number is linked to the intended WhatsApp agent |
## Related guides
* [Create chat agent](/create-chat-agent) — channel types and WhatsApp agent setup.
* [Integrations](/integrations) — Freshdesk, FreshChat, and other connectors.
* [Live chat](/live-chat) — when WhatsApp conversations hand off to humans.
* [Agent file attachments](/agent-file-attachments) — send files to WhatsApp customers.