Choose a channel
When you create an agent, pick the channel it will serve:| Channel | Best for | Plan requirement |
|---|---|---|
| Web | Website chat widget | All plans |
| Inbound support email with AI replies | Starter and above | |
| WhatsApp Business messaging | Starter and above |
Email agents — footer required
Email agents must include a footer (disclaimer, unsubscribe line, company address, etc.) when you create them. This footer is appended to outbound email replies. You can refine it later in the agent editor.Creating a new agent
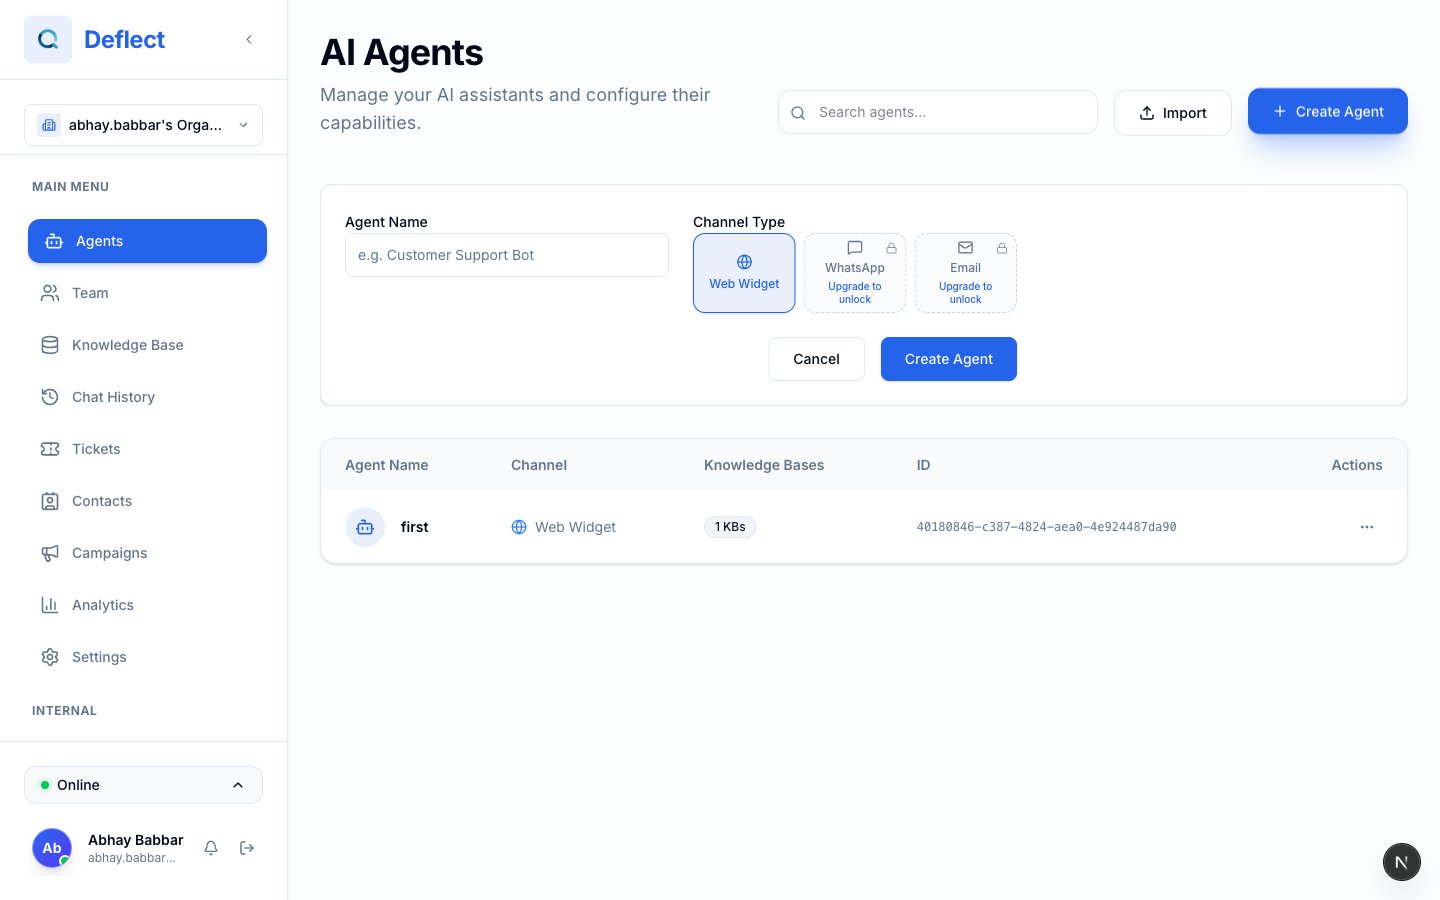
Create agent
Click + Create Agent, enter a name (e.g. “Website Support”), choose a channel, and confirm.
Agent configuration
Persona and instructions
Use the System prompt to define who the agent is, its tone, and what it should escalate. See Prompt engineering for tips.Model selection
| Setting | What it does |
|---|---|
| Model | Which AI model powers replies — affects quality, speed, and credit usage |
| Temperature | Lower = more consistent; higher = more varied |
| Max tokens | Maximum length of each reply |
Welcome message
- Static — A fixed greeting you write.
- Dynamic — An AI-generated greeting that can vary.
Language
See Set language for fixed vs. dynamic multilingual behavior.Knowledge base
Upload files and web sources in Knowledge Base first, wait until they are ready, then link them to the agent from the agent editor. See Knowledge base.Tools and capabilities
| Tool | Purpose | |
|---|---|---|
| Human handoff | Escalate to a live agent | Human handoff |
| End chat | Let the agent close a conversation | |
| Custom functions | Call your own APIs | Custom functions |
Post-chat analysis
Automatically summarize conversations after they end. See Post-chat analysis.Auto-close
Close conversations after a period of inactivity. Set the timeout in minutes from the agent editor.WhatsApp-specific settings
For WhatsApp agents, configure:- Linked phone numbers — Which connected WhatsApp numbers route to this agent.
- Dormancy and reopen rules — How long before inactive chats sleep or close.
- Response style — Single message or Multiple messages (up to four short bubbles, like a natural WhatsApp chat).
Managing agents
From the Agents page you can:- Rename — ⋯ menu → Rename
- Duplicate — Copy configuration to a new agent
- Export / Import — Back up or move configs — Agent import & export
- Delete — Permanently remove an agent
Next steps by channel
Web agent
Embed the widget on your site.
Email agent
Set up sending domain and branding.
WhatsApp agent
Connect a WhatsApp number.