

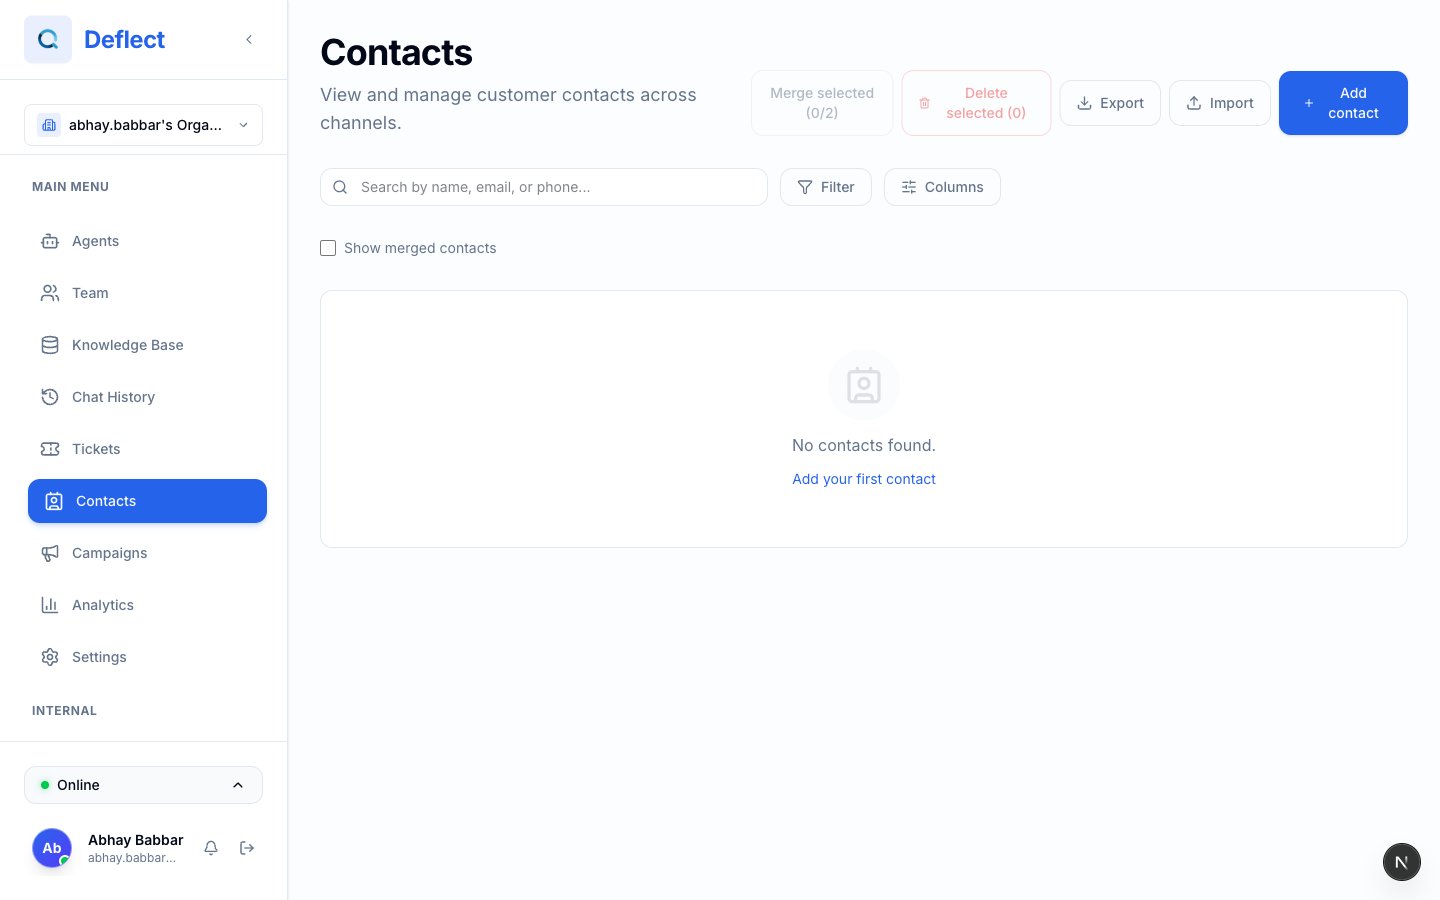
Contacts list — search, filters, and action buttons at the top.
Why contacts matter
When someone messages you on WhatsApp or email, Deflect can automatically link the conversation to an existing contact when it recognizes their phone number or email.
Viewing and searching contacts
- Open Contacts from the sidebar.
- Use search to find someone by name, email, or phone.
- Click a row to open the contact profile — conversation history, custom fields, and merge history.
Merging duplicates
Sometimes the same customer appears twice — different email typos, or separate web and WhatsApp identities.1
Select exactly two contacts
On the Contacts list, check the boxes next to two records you want to combine.
2
Click Merge selected
Click Merge selected (2/2) in the top bar.
3
Choose which values to keep
If name, email, or phone conflict, pick which value becomes the primary record.
4
Confirm
The secondary contact is merged into the primary. Conversation history moves with it.
Undo a merge
If you merged the wrong records, open the primary contact’s profile and use Unmerge on a previously merged contact. You can restore the secondary record with or without carrying over shared history — follow the prompts in the dashboard.Bulk delete
Select one or more contacts (or use select all across pages), then Delete selected. Use this to clean up test data or comply with your retention policy.Export to CSV
1
Click Export
On the Contacts page, click Export.
2
Choose columns
Include standard fields (name, email, phone) and any custom contact fields you want in the file.
3
Filter by channel (optional)
Export everyone, or only contacts with an email address, or only contacts with a phone number (useful before a WhatsApp campaign).
4
Download
Save the CSV and import it into your CRM or spreadsheet.
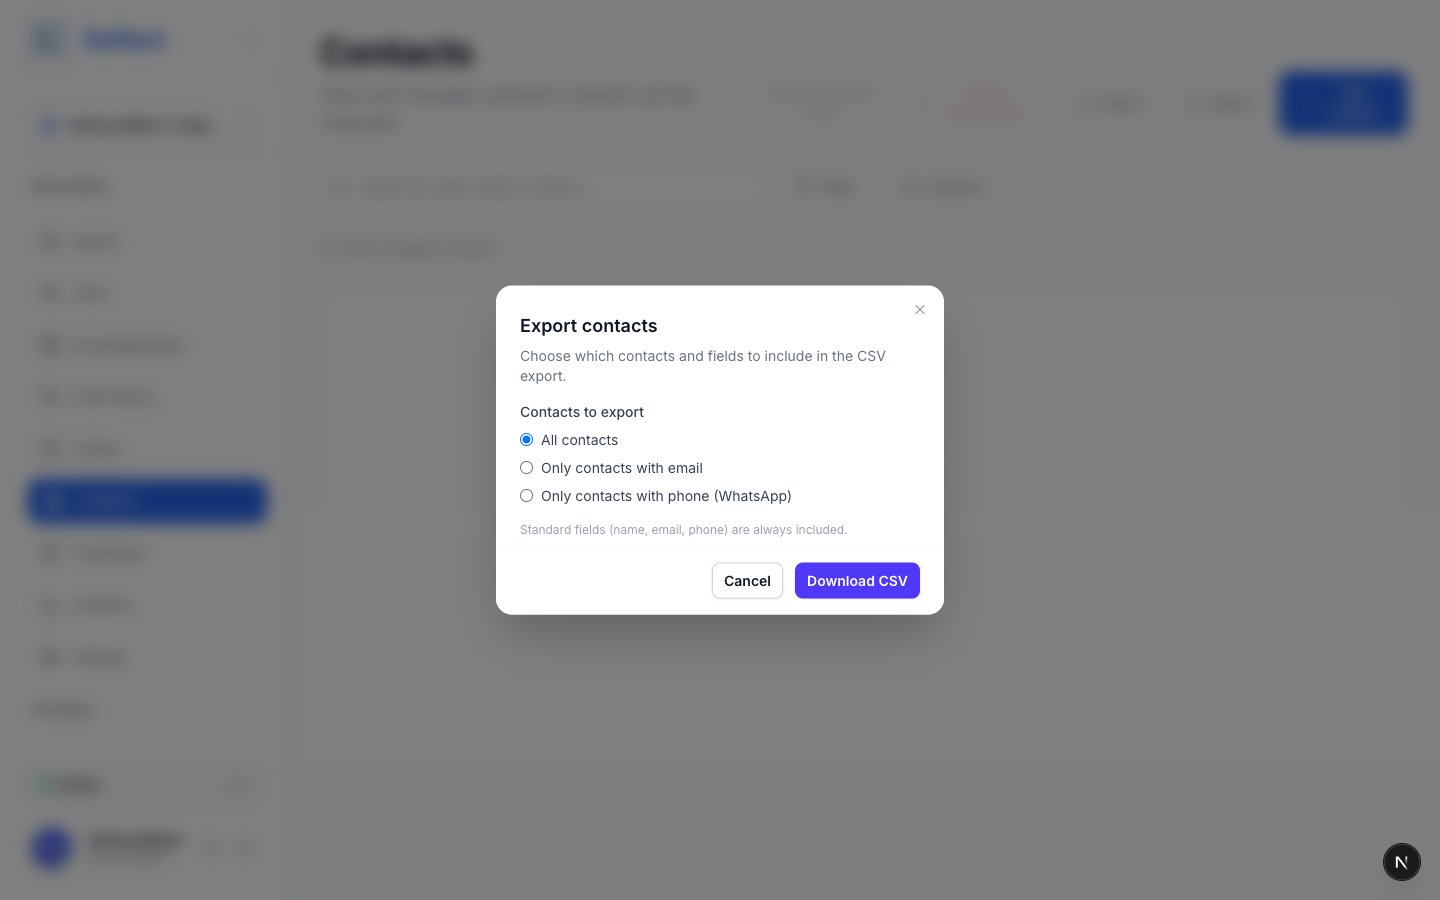
Export modal — column picker and channel filter.
Custom contact fields
Beyond built-in name, email, and phone, you can store organization-specific data — plan tier, region, account ID, lead source, and more.Create fields
- Go to Settings → Contact Fields.
- Add a field with a label (what humans see) and a stable key (used in campaigns and exports).
- Choose a type — text, number, date, dropdown, checkbox, URL, etc.
Built-in names like
name, email, and phone are reserved — use different keys for custom fields.
Where field values appear
- On each contact profile (editable by your team).
- In email and WhatsApp campaigns as personalization tokens (with fallback text if a value is missing).
- In CSV exports.
Related guides
- Email campaigns — send to contact audiences.
- WhatsApp integration — inbound WhatsApp links to contacts by phone.
- Tickets — tickets show linked contact details when available.