

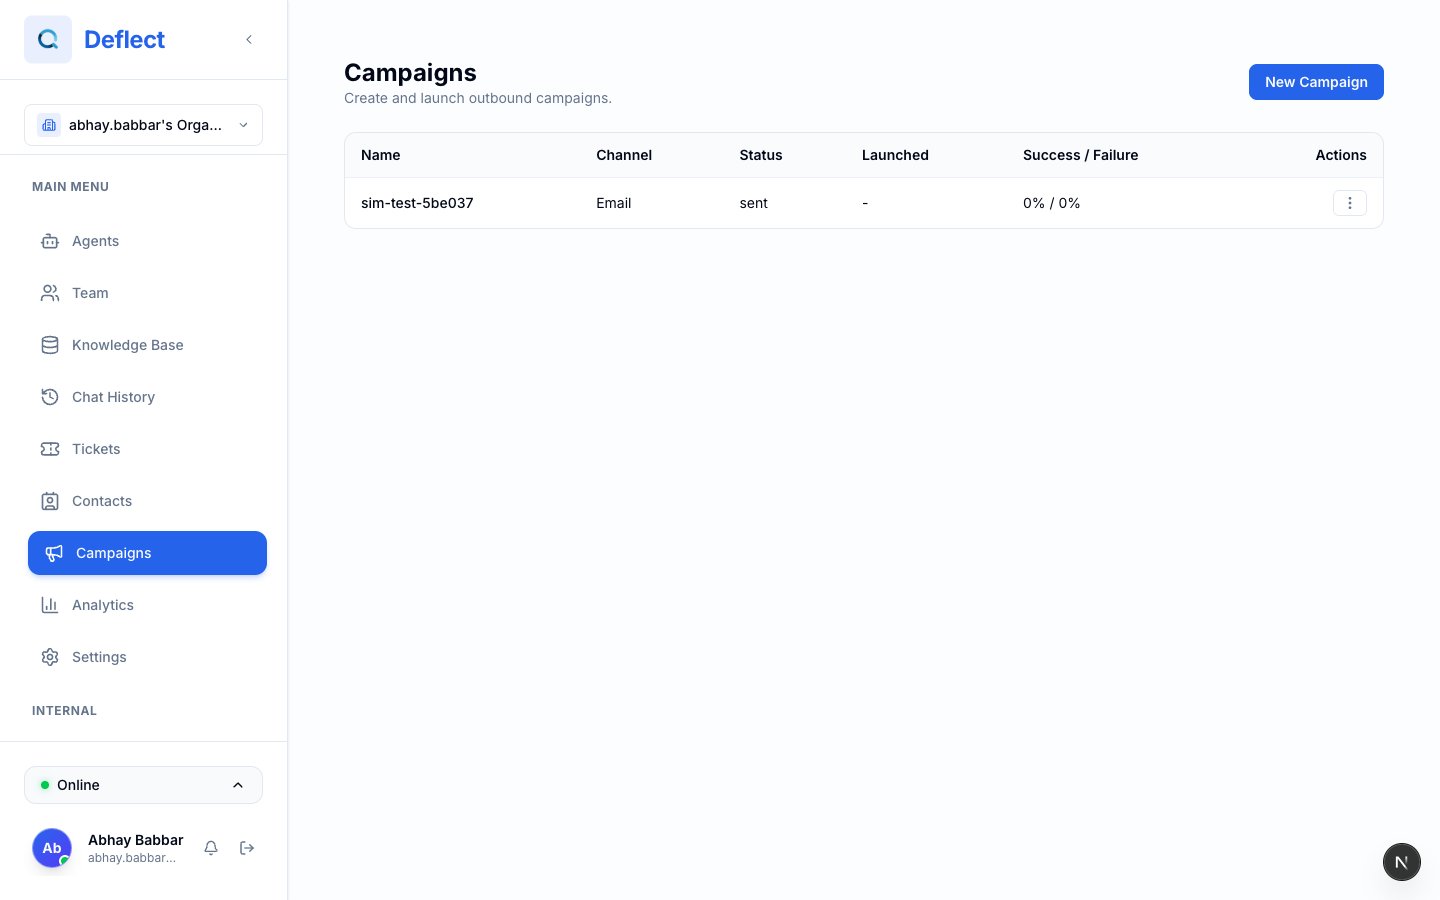
Campaigns list — name, status, channel, and progress.
Before you start
1
Contacts
You need contacts with email addresses. Import or collect them through chat, tickets, and integrations. See Contacts.
2
Sending domain
Register a marketing sending domain under Settings → Email Branding and complete the DNS steps shown in the dashboard. Campaigns cannot send until your domain is verified.
3
Warm-up (recommended)
For new domains, follow the warm-up guidance in Email Branding so deliverability stays healthy. See Email branding.
Create a campaign
1
Open Campaigns
Click Campaigns in the sidebar, then New campaign.
2
Name and channel
Give the campaign a clear internal name. Choose Email as the channel.
3
Pick a sender
Select the sender identity (your verified marketing domain and from-address).
4
Link an agent
Choose which agent handles replies if recipients write back. Replies can route to live chat or follow your configured reply behavior.
5
Choose your audience
Select contacts manually, or build a filtered audience (e.g. contacts where
plan = Enterprise or email is not empty).6
Write subject and body
Compose your message. Use personalization tokens — see below.
7
Preview
Use Live preview with a sample contact to see the rendered subject and body, including fallback text.
8
Launch
Schedule or send immediately. Watch progress on the campaign report.
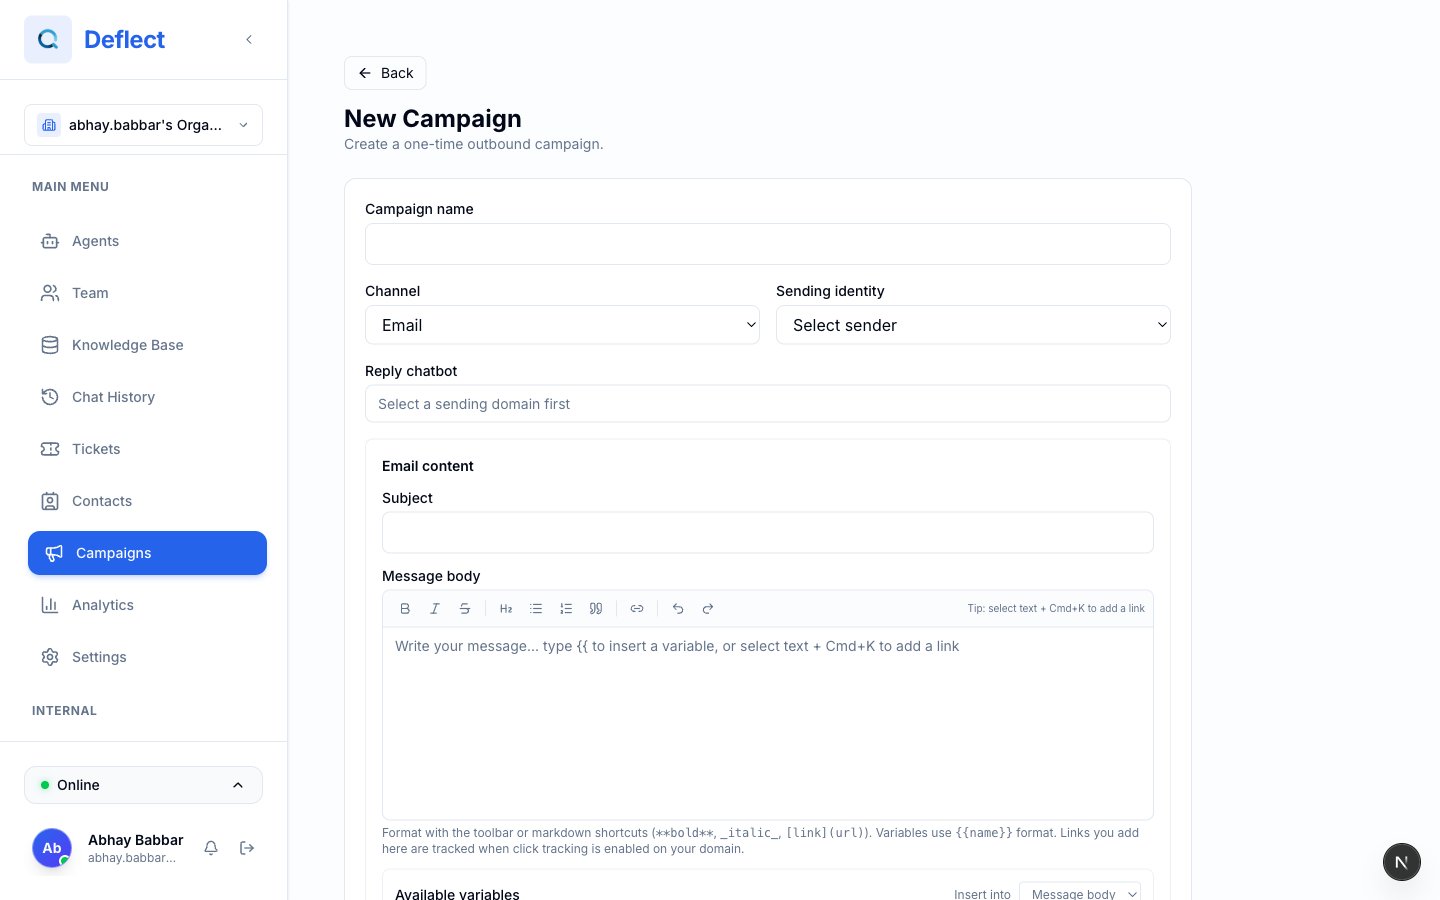
Campaign editor — audience panel, subject/body, and variable chips.
Personalization tokens
Insert placeholders in the subject or body. At send time, each contact’s values replace the tokens.
Click a variable chip in the editor to insert it at your cursor. Choose whether you are inserting into Subject or Message body.
Fallbacks
For each token you use, configure a fallback under variable settings:- Use contact field — Pull from a contact field; if empty, use your fallback text (e.g.
"there"for{{name}}). - Use static value — Always use a fixed string you provide.
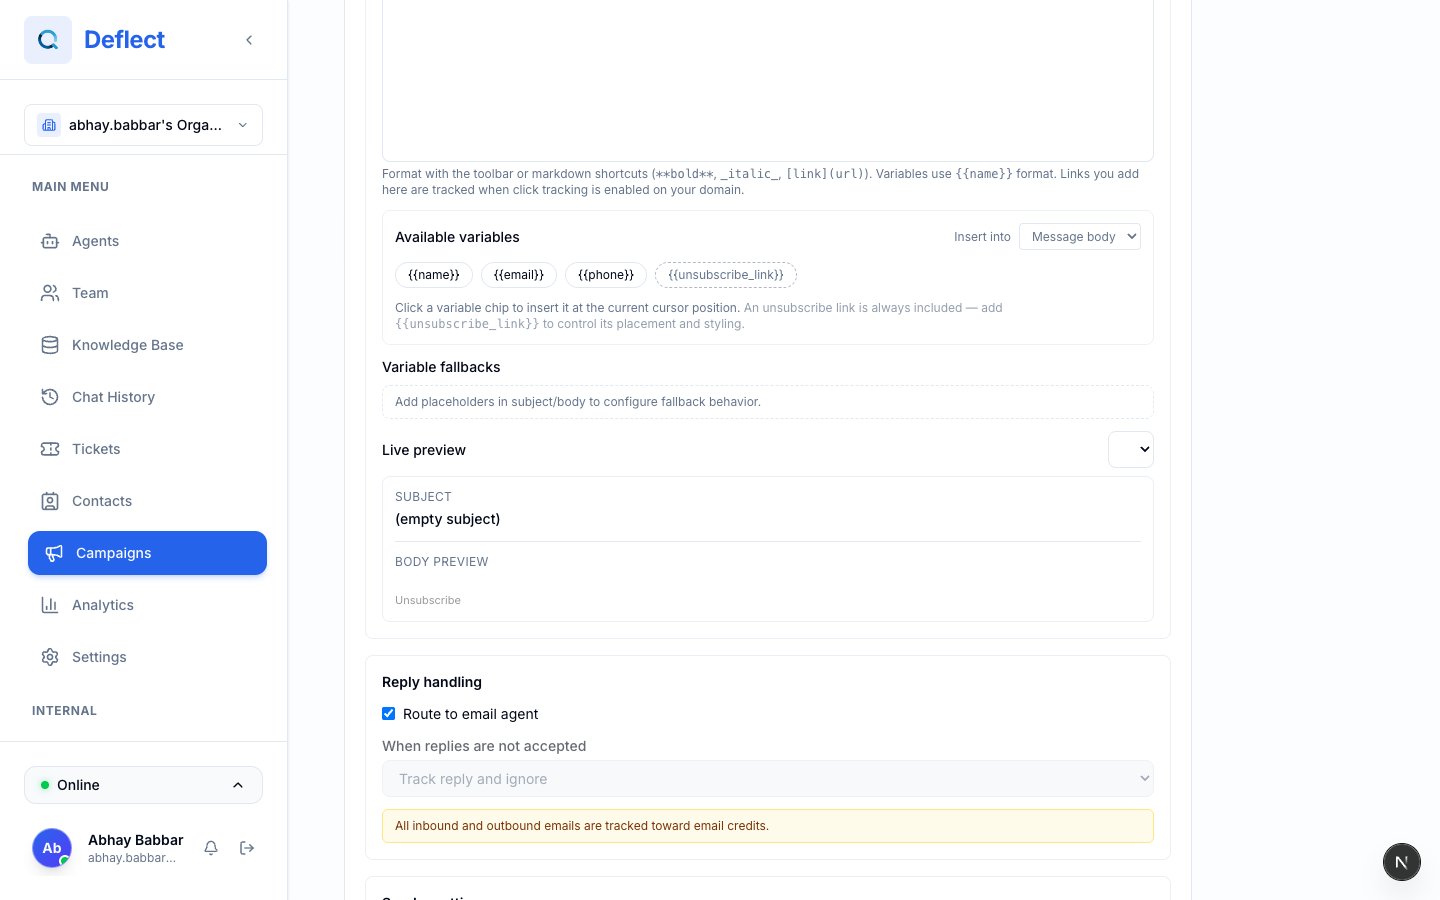
Live preview panel — sample contact selected, rendered HTML visible.
Reply handling
When creating an email campaign, decide what happens if someone replies:
Match this to your campaign type — marketing blasts often use a no-reply or auto-reply path; nurture sequences often accept replies.
After you send
Open the campaign to see:- Progress — how many messages sent, pending, or failed.
- Errors — addresses that bounced or were skipped (fix data in Contacts and retry if needed).
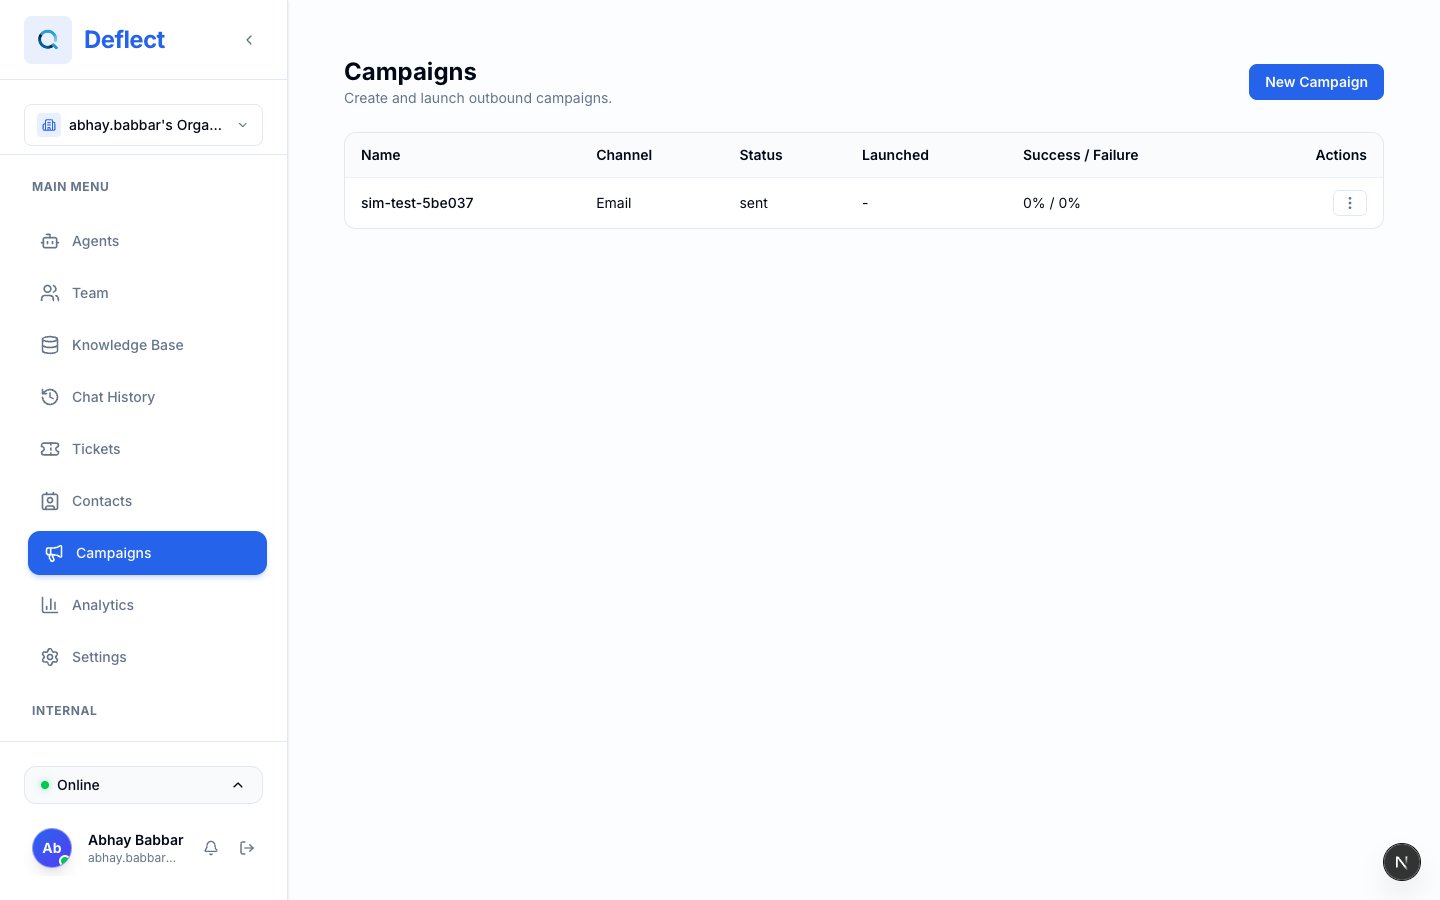
Campaign report — send progress bar and per-recipient status.
WhatsApp campaigns
Some workspaces also support WhatsApp campaigns using approved WhatsApp templates. If you see WhatsApp as a channel option when creating a campaign:- Connect and sync templates — WhatsApp integration.
- Pick a template approved by WhatsApp (required outside the 24-hour customer service window).
- Map template variables to contact fields, same as email fallbacks.
- Audience must include contacts with valid phone numbers.
Tips for better deliverability
- Warm up new sending domains gradually.
- Avoid spam trigger words and broken personalization (
Hello {{name}}with no fallback). - Segment audiences instead of blasting your entire list.
- Test with an internal contact list before a full launch.
Related guides
- Contacts — audiences and custom fields.
- Email branding — domains, DNS, warm-up.
- Settings & billing — email allowance and top-ups.