

What you need before you start
- A Deflect account with access to the dashboard (app.deflect.in).
- A member with the Admin or Developer role. In Deflect, organization roles are Admin, Developer, and Agent. Admin and Developer can set up agents, the Knowledge Base, widget API keys, and domain allowlists; Agent is for live queues and tickets (see Team management).
- Access to your website’s HTML (or your web developer) so you can paste one
<script>tag before</body>. - (Recommended) The URL of your help center or marketing site if you want the agent to answer from live web pages—not only uploaded files.
Step 1 — Sign in and open Agents
- Go to app.deflect.in and sign in.
- Open Agents from the sidebar.
- Click Create agent (or equivalent) and give it a clear name, e.g.
Support – Website.
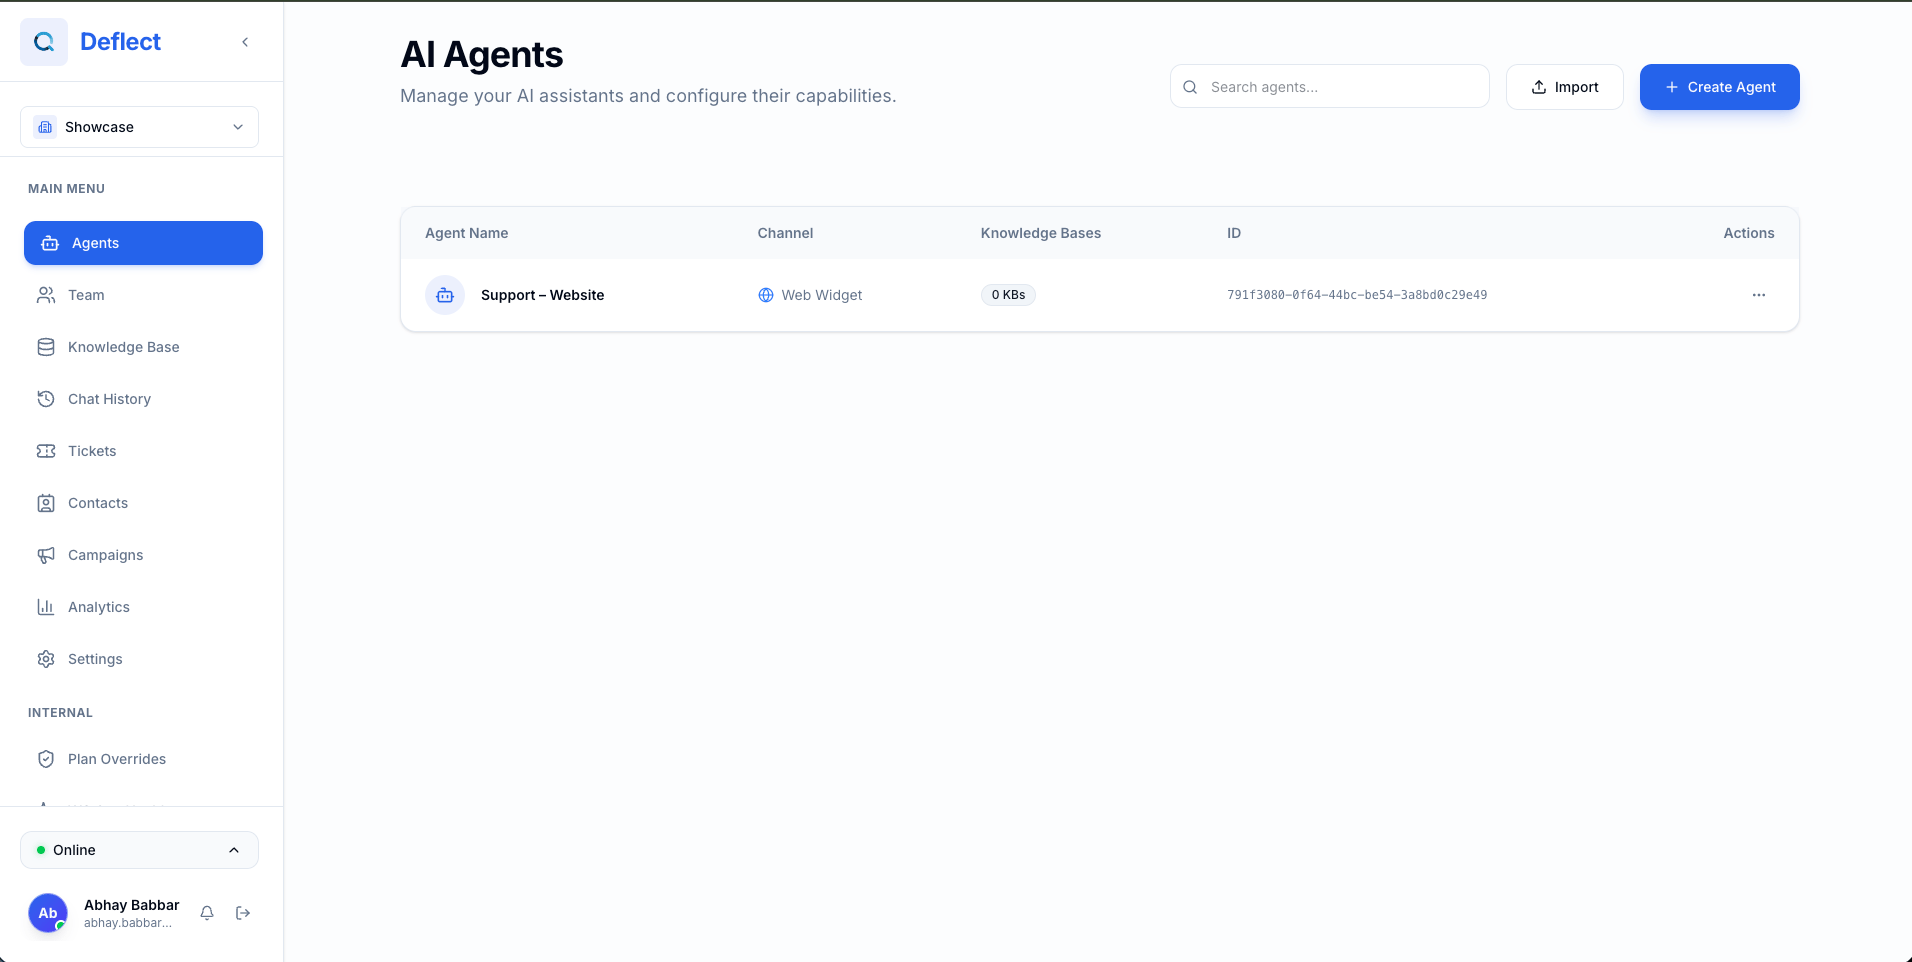
Agents list in the Deflect dashboard—open Agents and use Create agent to start.
Step 2 — Teach the agent who it is (persona)
- Open your new agent to enter the Agent editor.
- Find System prompt / instructions and describe:
- Role (e.g. “You are the support assistant for Acme Corp.”).
- Tone (friendly, concise, formal).
- Boundaries (what to escalate, what not to guess).
- Set Language behavior if you serve multiple locales—see Set language.
- Configure Welcome message (static or dynamic) so the first message in the widget matches your brand.
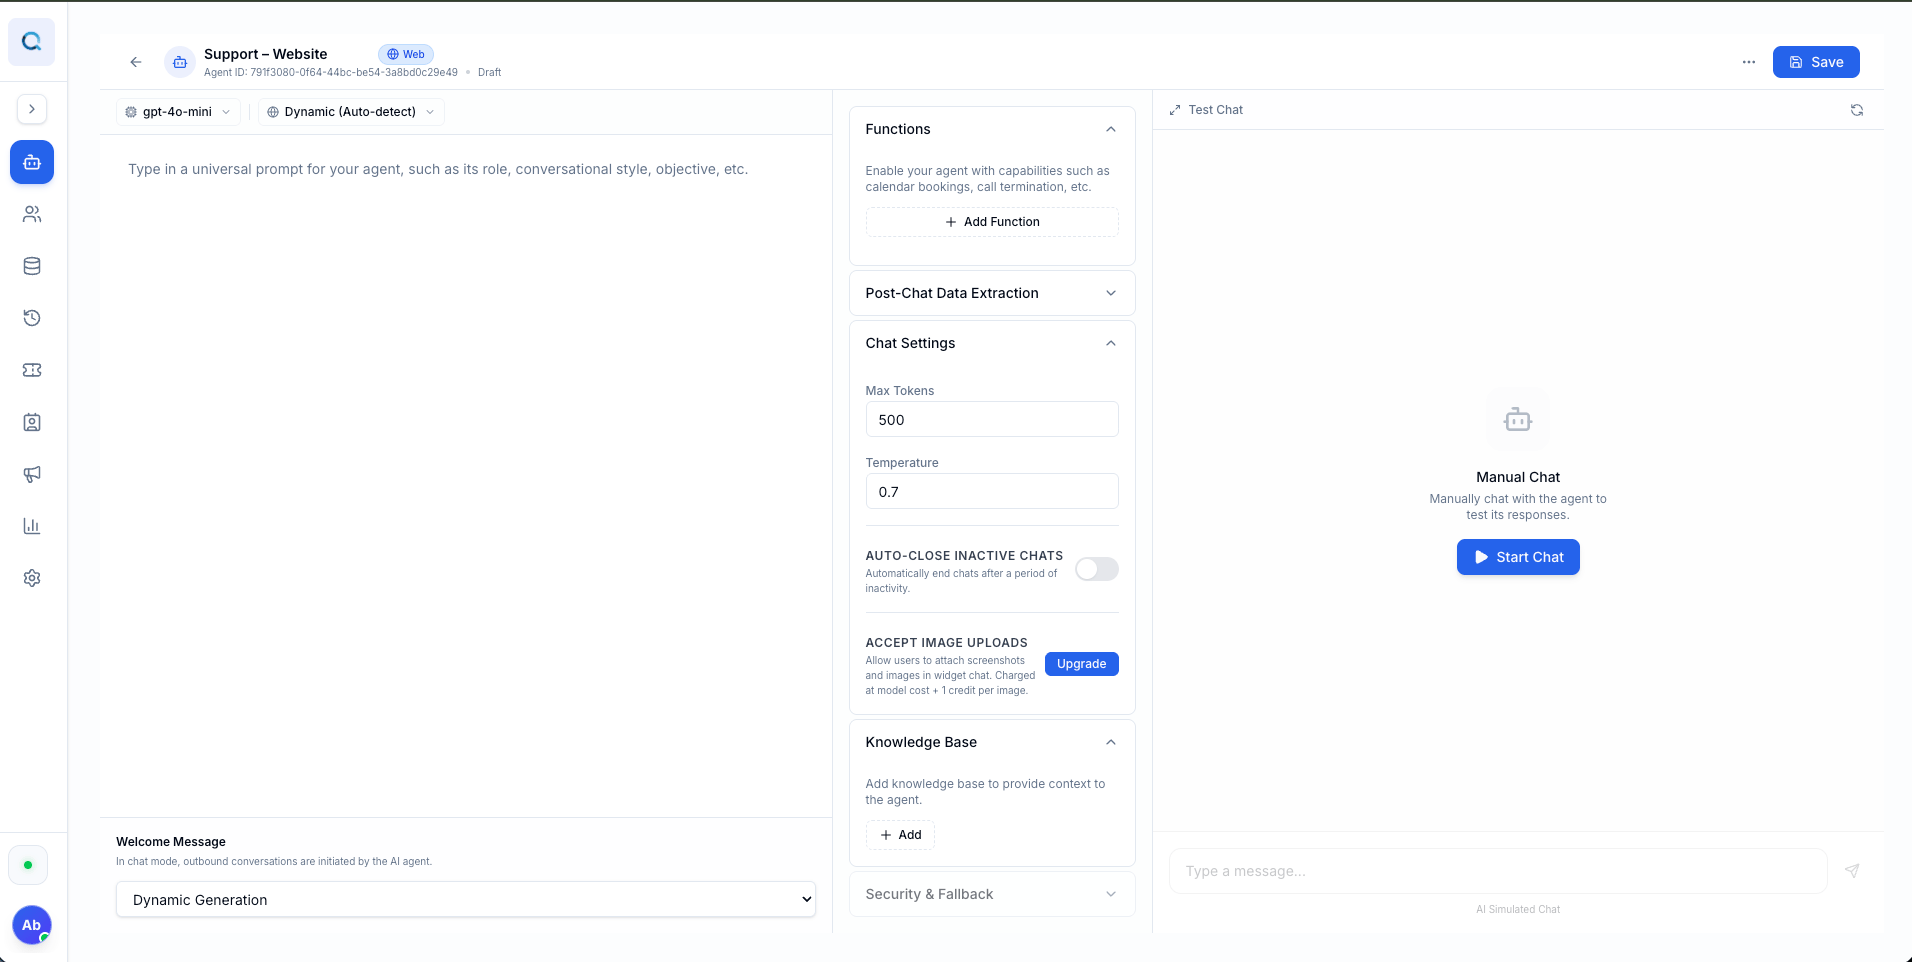
Inside the Agent editor: system prompt, model, and related settings for this agent.
Step 3 — Add knowledge (strongly recommended)
Without linked knowledge, the agent only knows what you put in the prompt. Uploads and web crawls happen in the Knowledge Base section—not inside the agent.- In the dashboard sidebar, open Knowledge Base.
- Upload PDF or Markdown files and/or add a website (URL, sitemap, web crawl) there. Wait until each source is processed / ready.
- Open your Agent → Agent editor and use Knowledge / Add knowledge base to link the knowledge base(s) you just created.
Step 4 — Optional: handoff, tickets, and tools
Configure when you are ready—none of these block the widget from loading:- Human handoff — Live agents, schedules, ticket-only mode, Freshdesk/Freshchat.
- Tickets — How structured tickets appear in the dashboard.
- Custom functions — Call your own APIs from the agent.
Step 5 — Test inside the dashboard
- In the Agent editor, use the test chat (preview panel) on the right.
- Ask questions you expect real visitors to ask; confirm citations or tone match your policy.
- Fix the prompt or knowledge, then test again.
Step 6 — Create an API key and connect the widget to this agent
The public widget does not use your personal login. It uses an API key tied to your org, plus the chatbot id of this agent.- Open Settings → Widget (org-level widget & keys).
- Create API key if you do not have one. Copy it once—many dashboards hide the full key later.
- In the widget panel, choose this agent from the chatbot / agent dropdown so the snippet points at the right bot.
- Click Copy on the generated embed snippet.
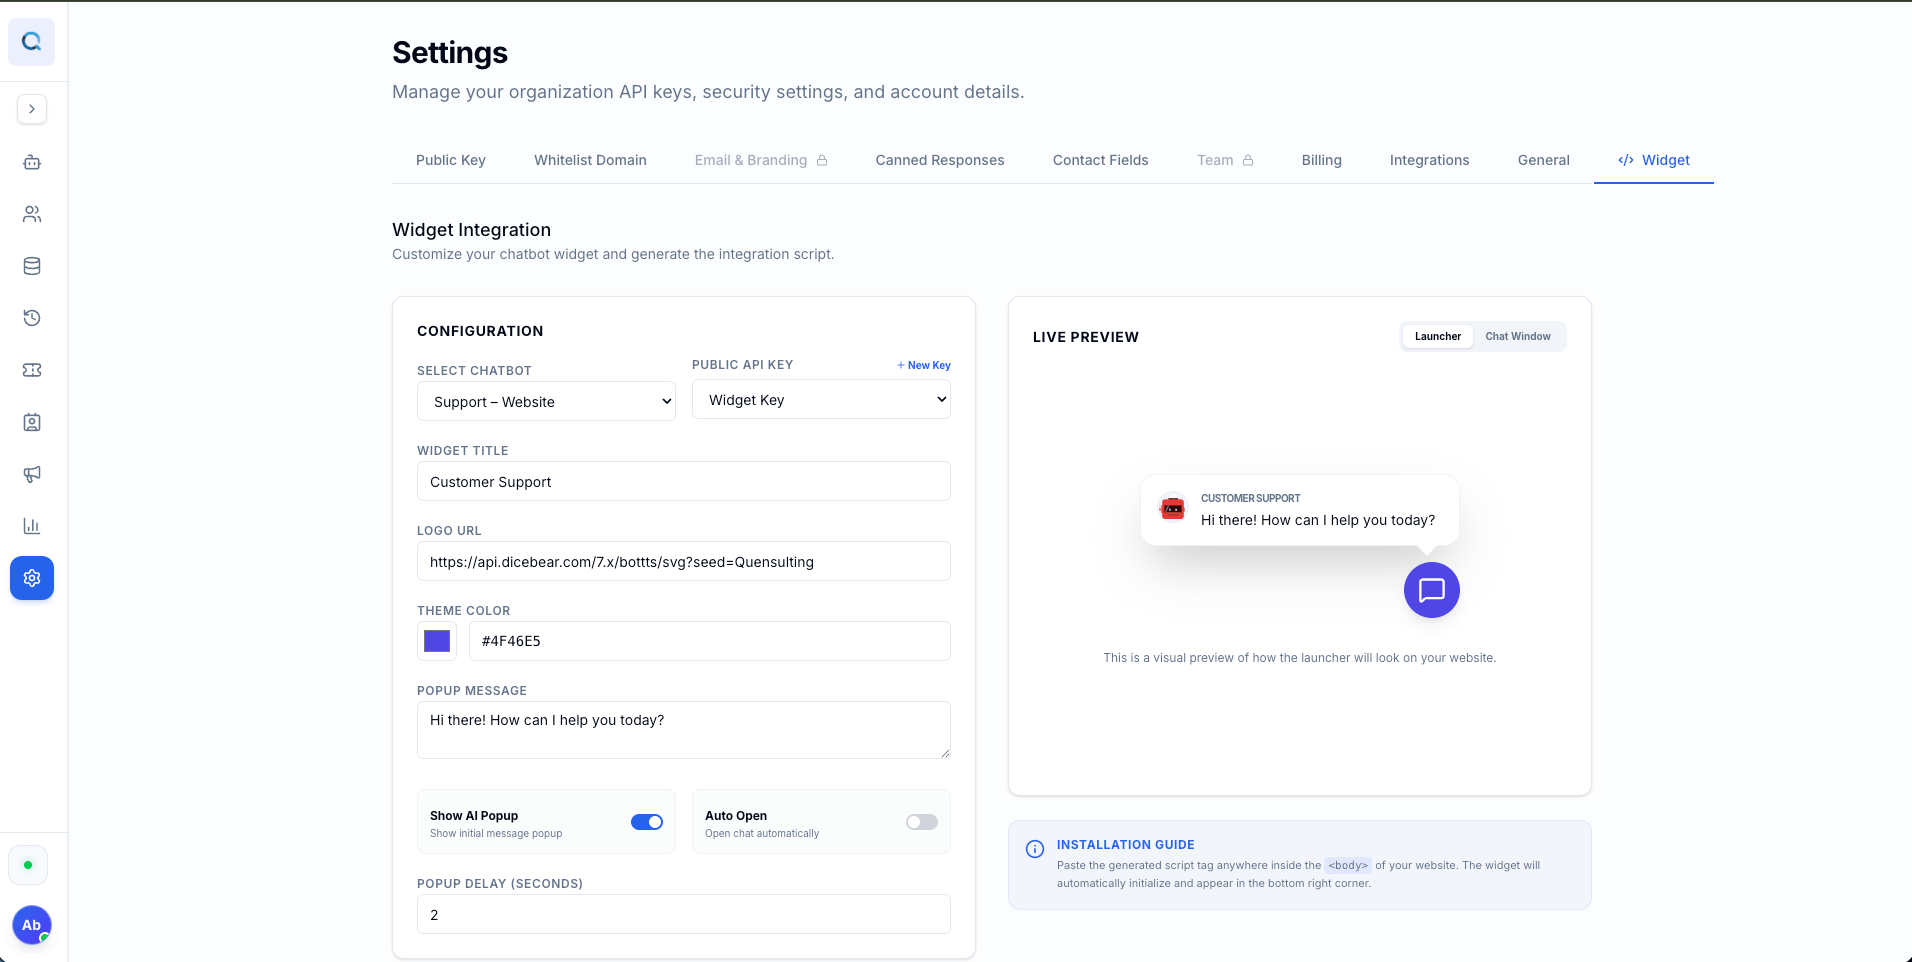
Settings → Widget: API key, agent selection, and the embed snippet to copy.
Step 7 — Whitelist your production domains
The widget only runs on domains you explicitly allow. With no domains added, requests from the embed are blocked (fail closed for security). Add every production (and staging) hostname you need before testing the snippet on a live page.- Settings → Domains.
- Add the domain where you will load the widget.
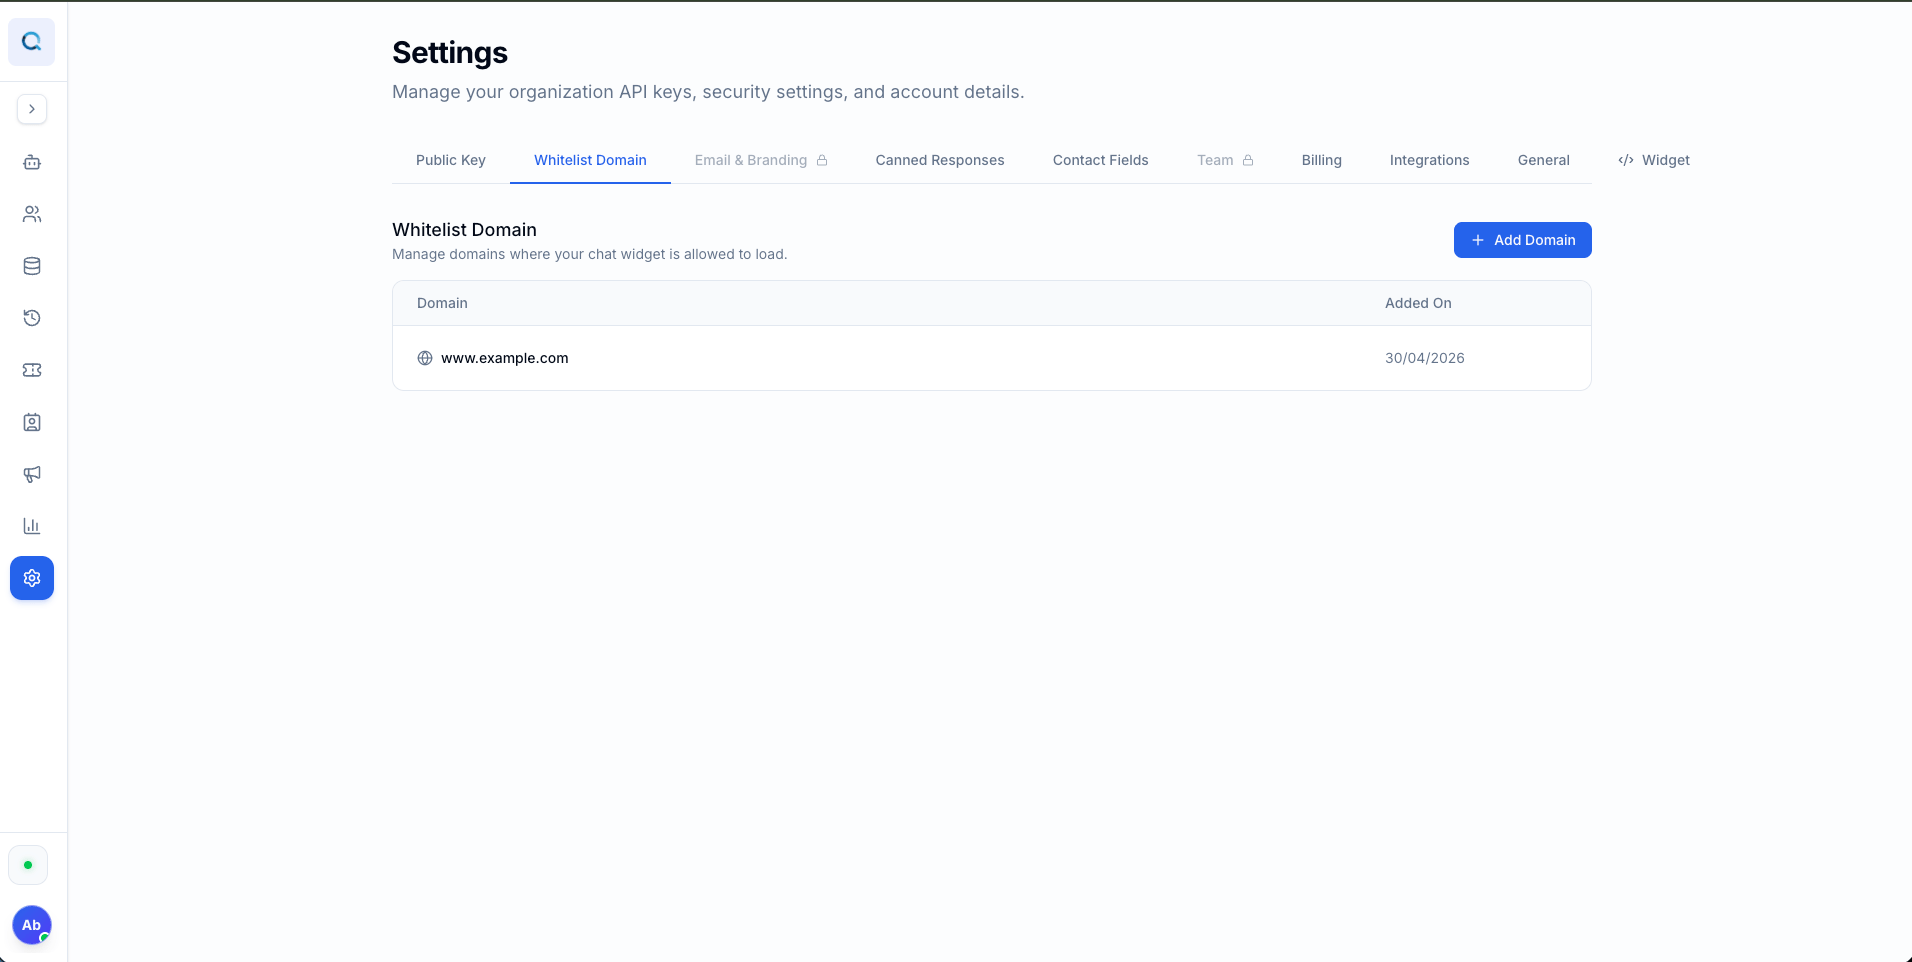
Settings → Domains: allowlist the hostnames where the widget is allowed to load.
Step 8 — Paste the snippet on your website
Add the script once per page (or in a shared layout) before</body>:
- Replace placeholders with values from the dashboard snippet—do not commit real API keys to public GitHub repos.
- Single Page Apps (React, Next.js, etc.): inject the same tag in the document body via your root layout or
index.html, not only inside a client-only div that never reaches the body end if your framework strips it.
Step 9 — Verify on the live site
- Open your site in a normal browser window (or incognito) on a whitelisted domain.
- Confirm the chat launcher appears and opens.
- Send a test message; confirm the reply and (if enabled) streaming or status text behaves as expected.
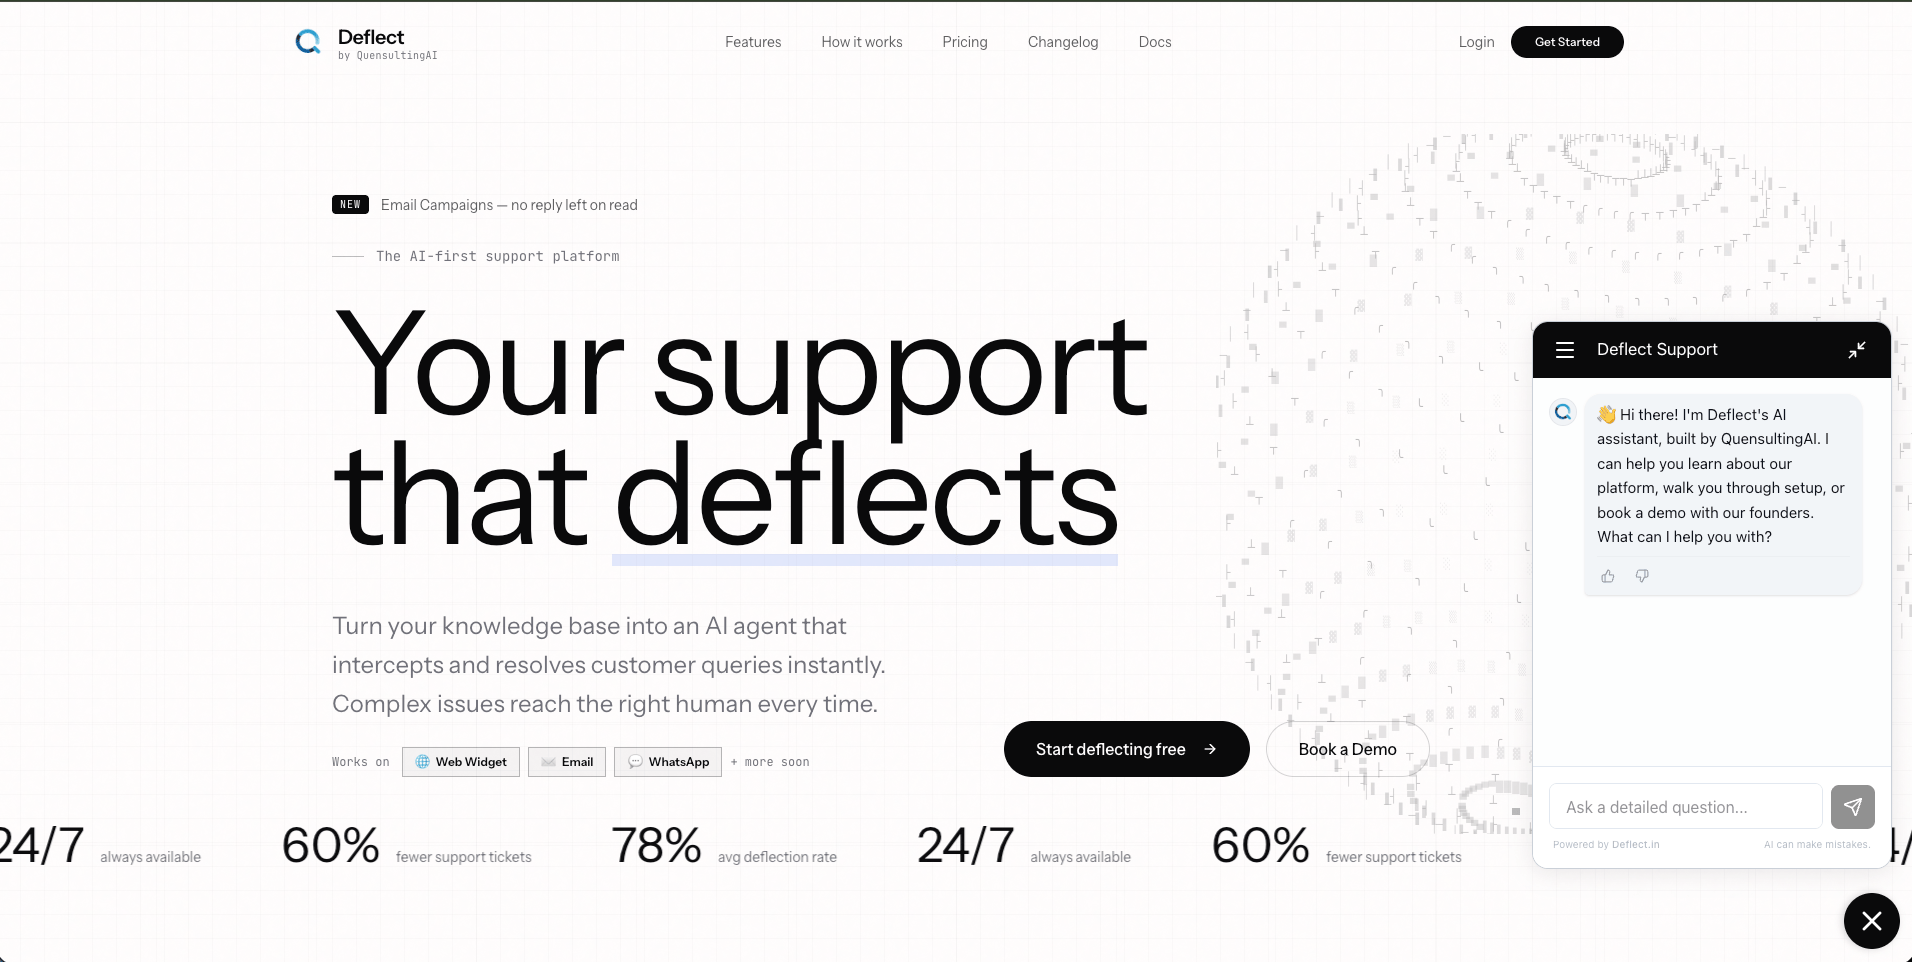
Your live website with the Deflect widget open and a conversation in progress.
- Confirm the domain matches the allowlist (scheme and
wwwmatter—match what visitors use). - Open the browser developer console on the Network tab and check for blocked requests to
widget.deflect.in. - Re-copy the snippet if you rotated the API key or switched agents.
Step 10 — Go live checklist
Related guides
Quickstart
Short 5-minute overview.
Widget installation
Snippet, domains, customization, preview.
Create chat agent
Every agent setting in depth.
Knowledge base
Files, URLs, and web sources.