

WhatsApp is available on Starter plans and above. Connecting or disconnecting numbers requires an Admin. Admins and Developers can sync templates, update tokens, and send test messages.
Overview
1
Connect a number
Link your WhatsApp Business phone number in Settings → Integrations.
2
Create a WhatsApp agent
Create an agent with channel WhatsApp and link it to your number.
3
Test
Send a test message to confirm everything works.
4
Go live
Share your WhatsApp number with customers.
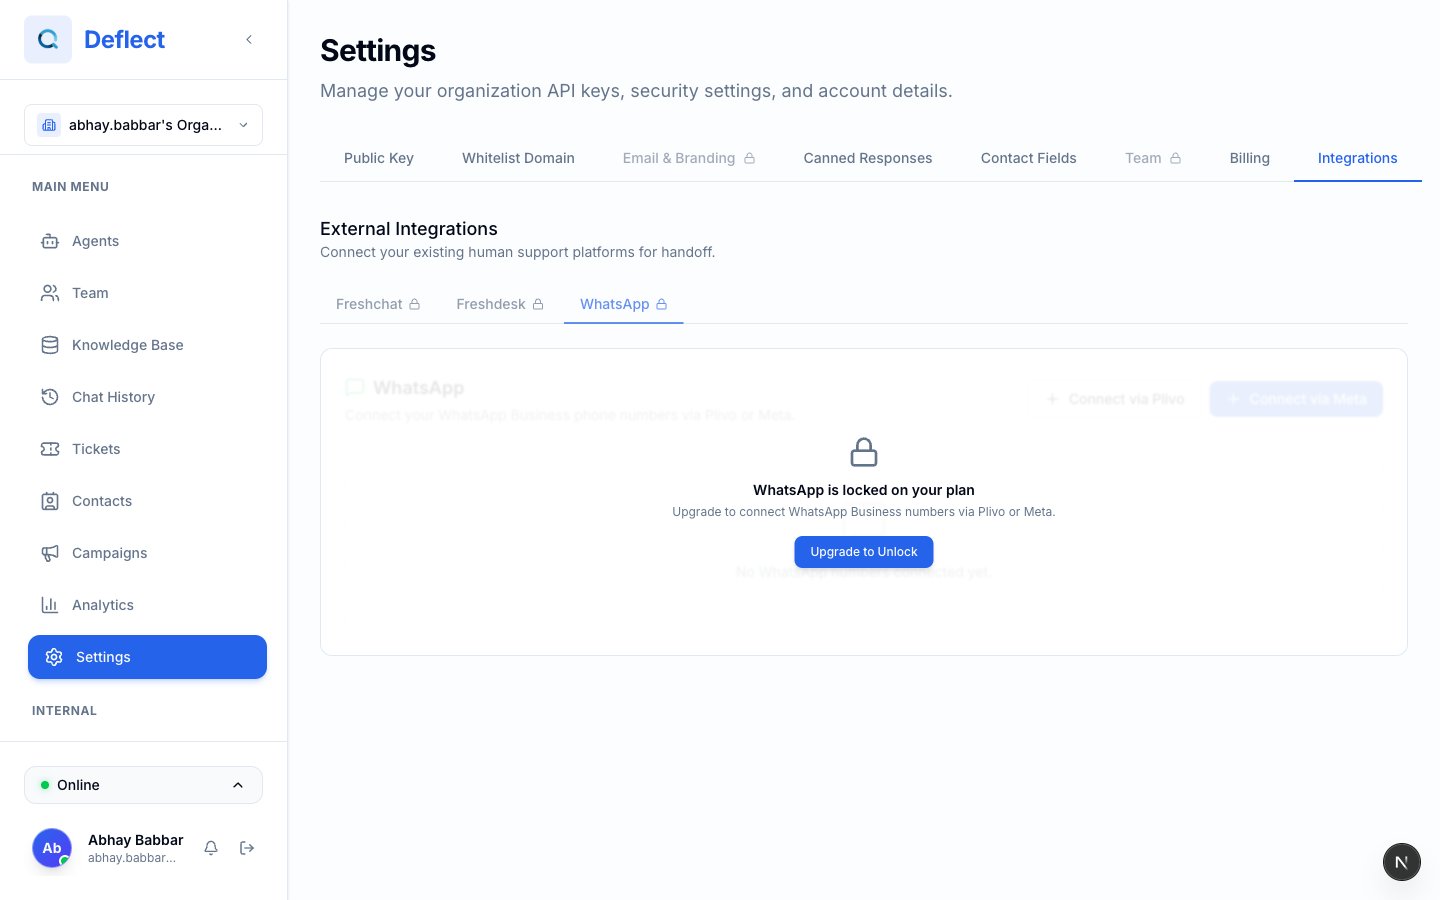
Integrations page — connected WhatsApp numbers with status badges.
Choose your connection method
Deflect supports two ways to connect WhatsApp. Pick the one that matches how your business already manages WhatsApp:
Both methods deliver the same customer experience in Deflect. The setup steps differ only in where you paste credentials.
Option A — Connect via Meta
What you need from Meta
Before starting, gather these from your Meta Business Manager WhatsApp setup:
You also need permission to edit webhook settings in your Meta app.
Connect the number
1
Open Integrations
Go to Settings → Integrations → WhatsApp Business.
2
Connect Number
Click Connect Number and enter your Meta credentials.
3
Save
Deflect registers the number and shows connection status, template count, and webhook details.
Set up the Meta webhook
After connecting, each number card shows a Webhook URL and Verify token. Copy both into your Meta app’s WhatsApp configuration. Subscribe to themessages webhook field — this is required for Deflect to receive customer messages and delivery updates.
Option B — Connect via Plivo
What you need from Plivo
Connect the number
1
Open Integrations
Go to Settings → Integrations and select the Plivo tab (or Connect via Plivo).
2
Enter credentials
Fill in phone number, display name, Auth ID, and Auth Token.
3
Configure Plivo webhook
After saving, copy the message URL shown on the number card into your Plivo WhatsApp application settings.
Plivo connect form and message URL on the connected number card.
Link numbers to an agent
1
Create or open a WhatsApp agent
Agents → Create agent with channel WhatsApp, or open an existing one.
2
Open WhatsApp settings
In the agent editor, find WhatsApp Settings.
3
Select linked numbers
Choose one or more connected phone numbers for this agent.
4
Configure timing and style
Set dormancy timeout, auto-close rules, reopen threshold, and response style (see below).
5
Save
Save the agent. Inbound messages on linked numbers route to this agent.
Response style
Use multiple messages when answers include lists, pricing tiers, or step-by-step instructions — it reads more naturally on mobile.
WhatsApp agent settings — linked numbers and response style toggle.
Message templates
Outside WhatsApp’s 24-hour customer service window, you must use pre-approved templates to start or re-open a conversation.1
Create templates in Meta
Design and submit templates in Meta Business Manager (or your Plivo template workflow).
2
Sync in Deflect
Settings → Integrations → find your number → Sync Templates.
3
Use in campaigns or tests
Synced templates appear when sending test messages or WhatsApp campaigns outside the service window.
Send a test message
Before announcing your WhatsApp line:- Settings → Integrations → your number → Test.
- Enter a recipient phone in international format (
+countrycode…). - Send. If the service window is closed, pick an approved template and fill any variables.
Contacts and conversation history
Incoming WhatsApp chats link to Contacts when Deflect recognizes the phone number. The contact profile shows WhatsApp history alongside web chat, email, and tickets. See Contacts.Troubleshooting
Related guides
- Create chat agent — channel types and WhatsApp agent setup.
- Integrations — Freshdesk, FreshChat, and other connectors.
- Live chat — when WhatsApp conversations hand off to humans.
- Agent file attachments — send files to WhatsApp customers.